lesson-5_Deploy to localhost
Deploy
✅ Create and ship our Subgraph
Now we can open up a fourth window to finish setting up The Graph. 😅 In this forth window we will create our local subgraph!
Note: You will only need to do this once.
yarn local-create
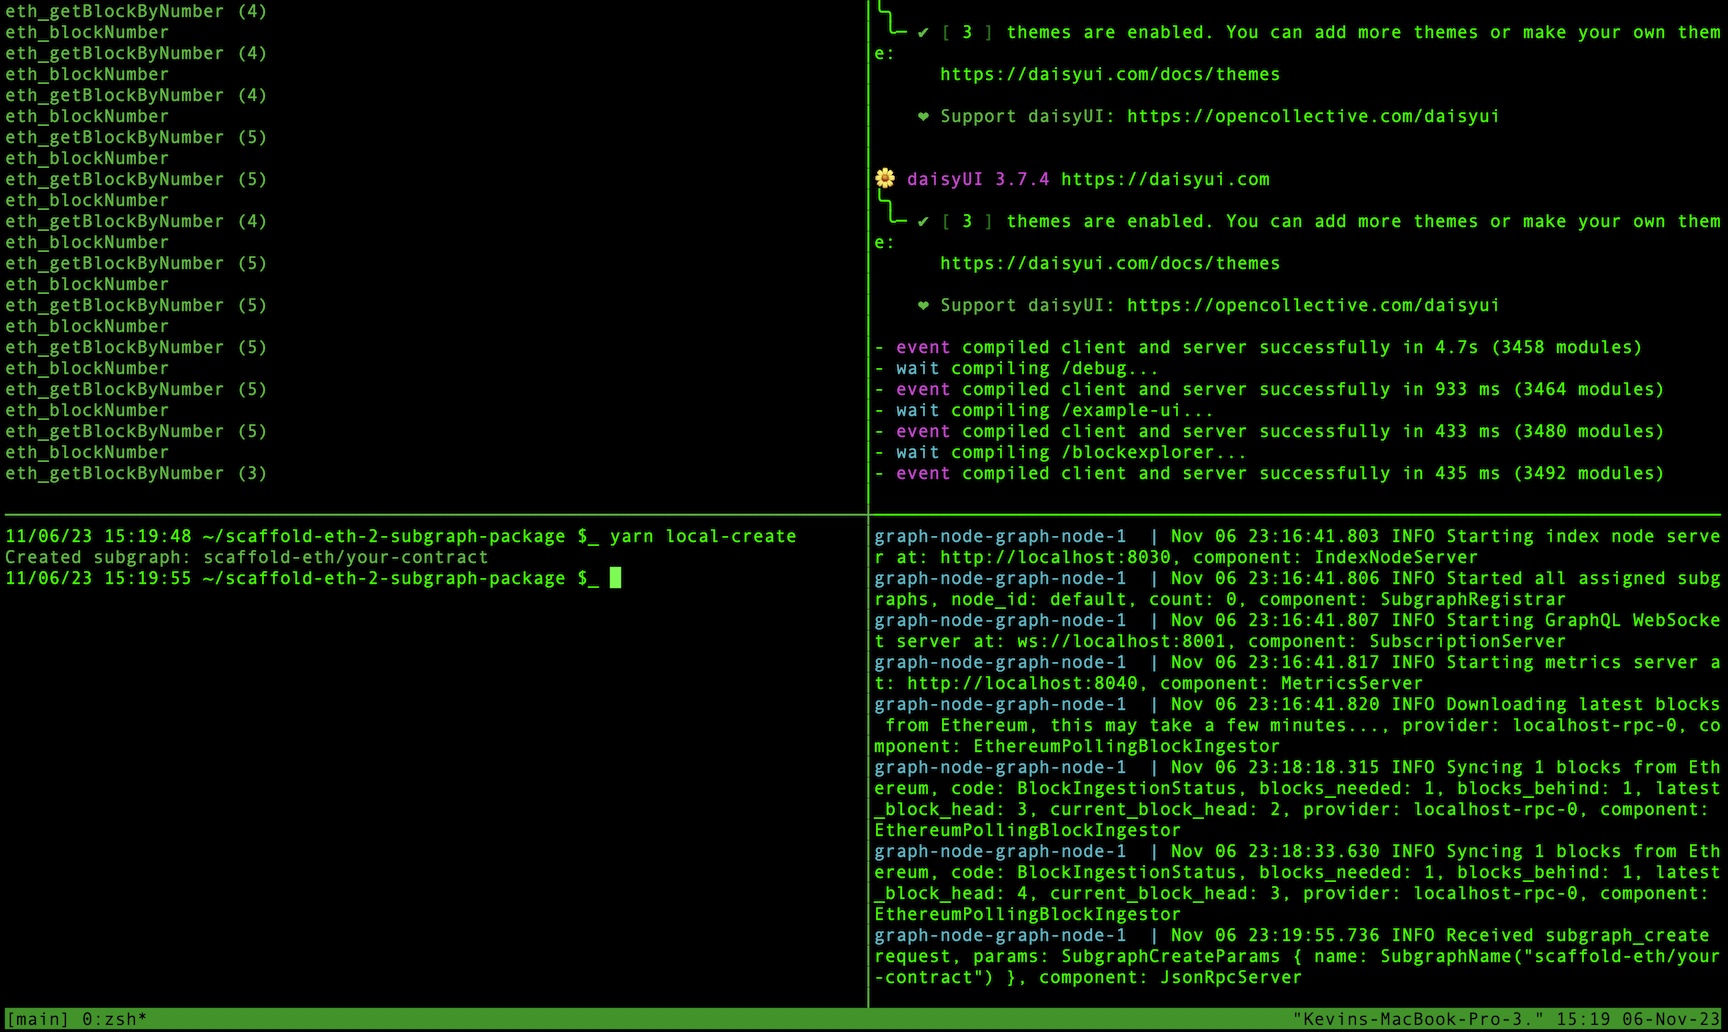
You should see some output stating your Subgraph has been created along with a log output on your graph-node inside docker.
Next we will ship our subgraph! You will need to give your subgraph a version after executing this command.(e.g. 0.0.1).
yarn local-ship
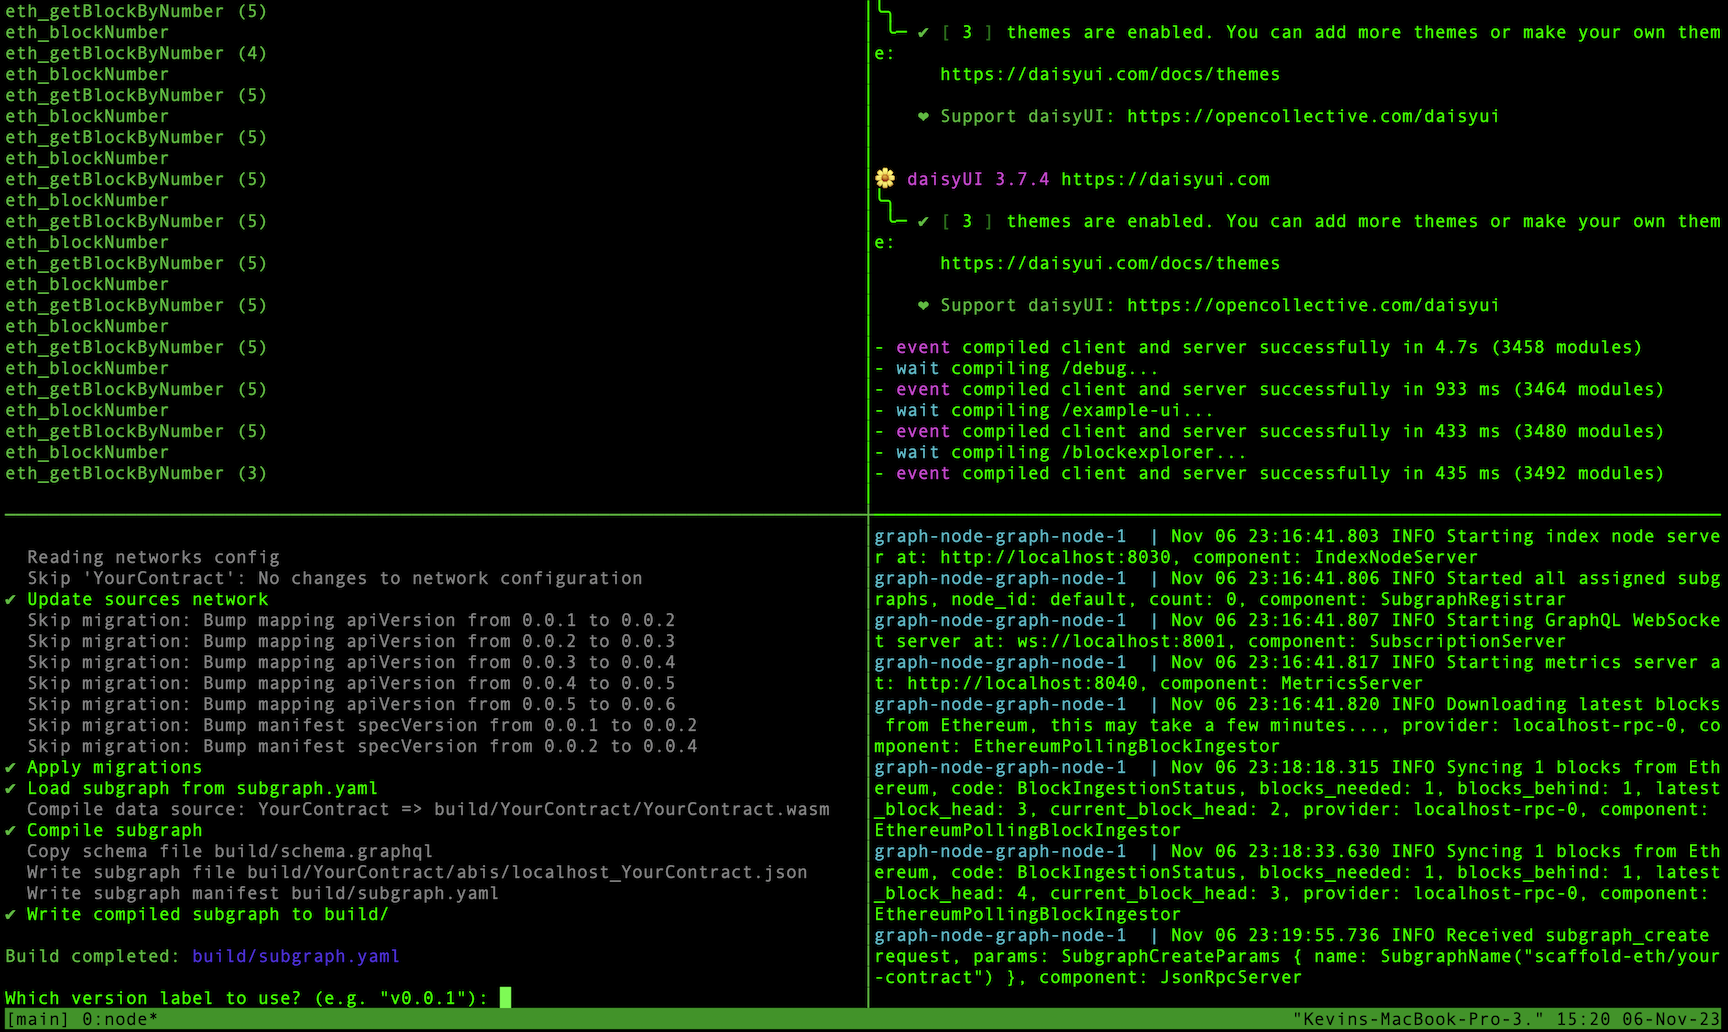
This command does the following all in one… 🚀🚀🚀
- Copies the contracts ABI from the hardhat/deployments folder
- Generates the networks.json file
- Generates AssemblyScript types from the subgraph schema and the contract ABIs.
- Compiles and checks the mapping functions.
- … and deploy a local subgraph!
If you get an error ts-node you can install it with the following command
npm install -g ts-node
If your subgraph deployment was successful it will look something like this:
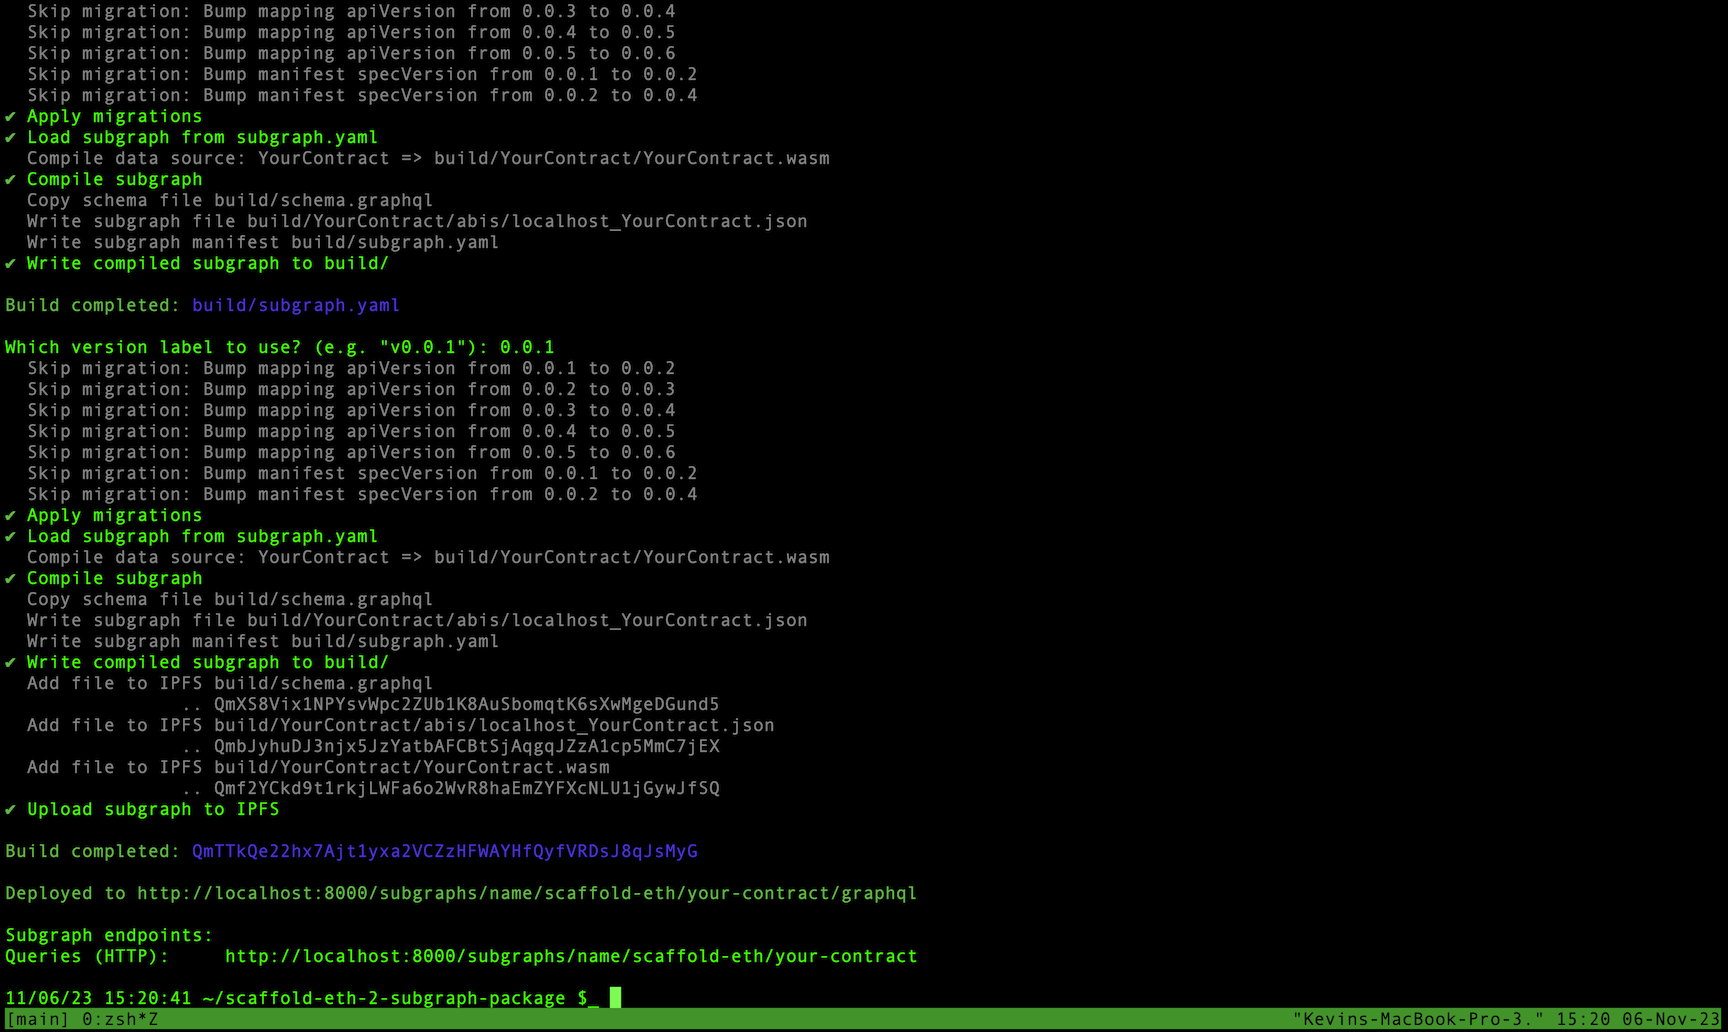
You should get a build completed output along with the address of your Subgraph endpoint.
Build completed: QmYdGWsVSUYTd1dJnqn84kJkDggc2GD9RZWK5xLVEMB9iP

Deployed to http://localhost:8000/subgraphs/name/scaffold-eth/your-contract/graphql

Subgraph endpoints:
Queries (HTTP):     http://localhost:8000/subgraphs/name/scaffold-eth/your-contract